Effective: 03/15/2021
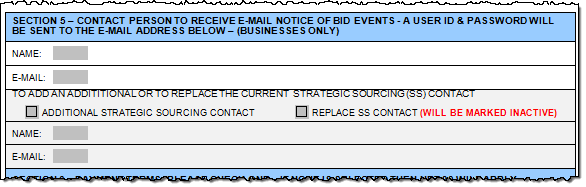
An Auction Contact is tied to an existing supplier for the purpose of being able to bid on contracts offered through the eBid system and the Strategic Sourcing process. Auction Contacts (eBid) are designated by the supplier in Section 5Section 5 of the Supplier Information Form. This process assigns an eSupplier User ID which is used by the business's auction contact person for making bids.
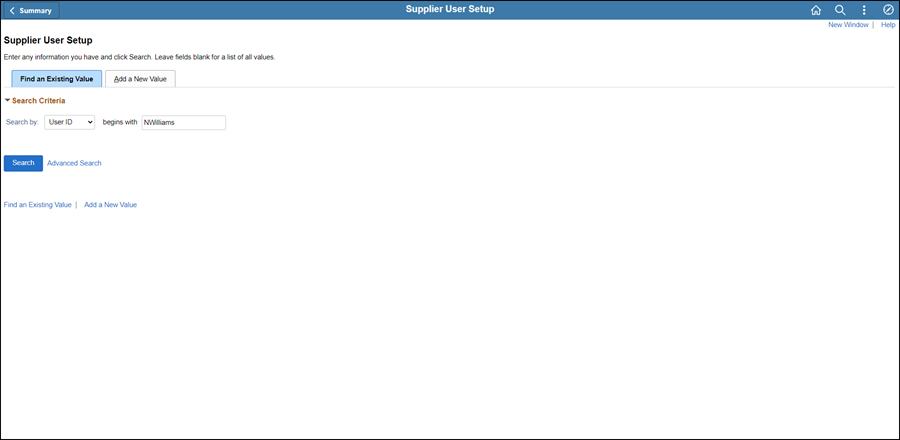
Click the Find an Existing Value tab.
Enter first initial and last name (e.g., NWilliams) of the contact in the User ID search field.
Click Search.
If any Search Results match the name of the contact, click on the applicable User ID to view the details to see if the User ID is linked to the Supplier ID in process.
If the eBid user exists, the Define Supplier User page displays for the User ID entered in the search field.
If there are no results, proceed to the next step.
Click the Add a New Value tab.
Update the User ID field with the first initial and last name of the contact followed by 01, 02, 03, etc. (e.g., search for "NWILLIAMS01," then "NWILLIAMS02," etc.).
Omit all characters and spaces (e.g., Jane Mc Neil-Smith would be entered as "JMCNEILSMITH01."
Click Add.
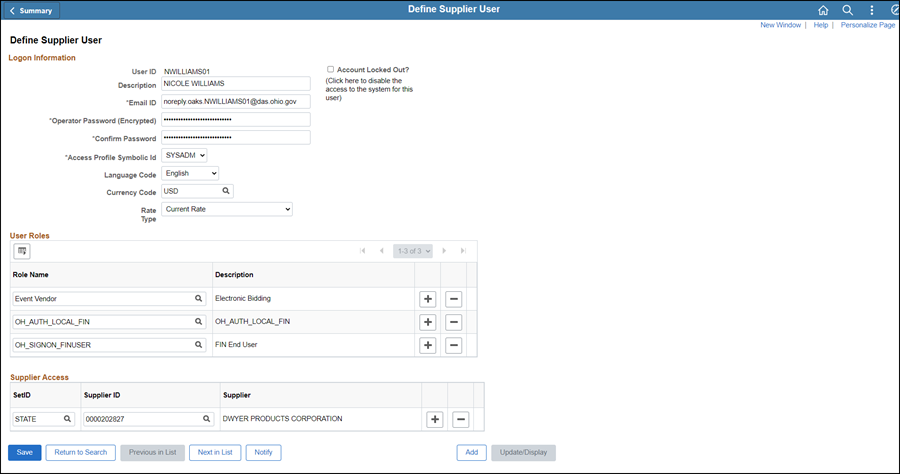
Click the Look Up Role Name icon and select "EVENT Vendor."
The OH_ES_VENDOR_ADMIN role will give users access to the eSupplier Portal as the administrator.
 Next steps - Updating the Supplier Operations
Tracker
Next steps - Updating the Supplier Operations
Tracker